Creating a GitHub repository for your project
The GitHub repository, also konwn as a repo, stores your project and its entire history. Git allows you to go back to any commit point and reconstruct your project up to that point. On GitHub it also has many other features, such as an effective bug/feature reporting system called Issues, a built-in Wiki, and easy ways for other people to check out their own versions of your (public) repository and create their own versions, then offer them back to you if they wish.
- Choose the + symbol, then New repository (or just click this Create new repository link).
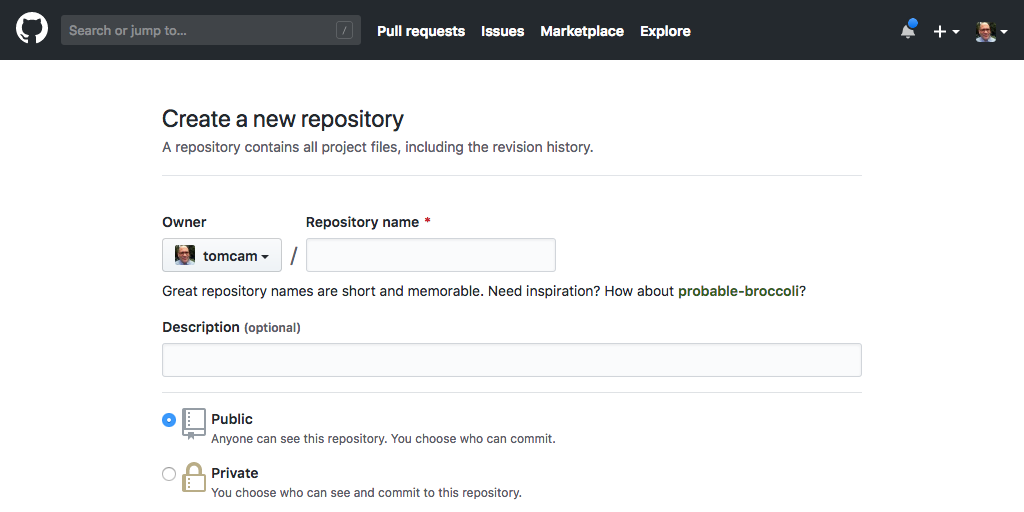
The Create a new repository page appears.
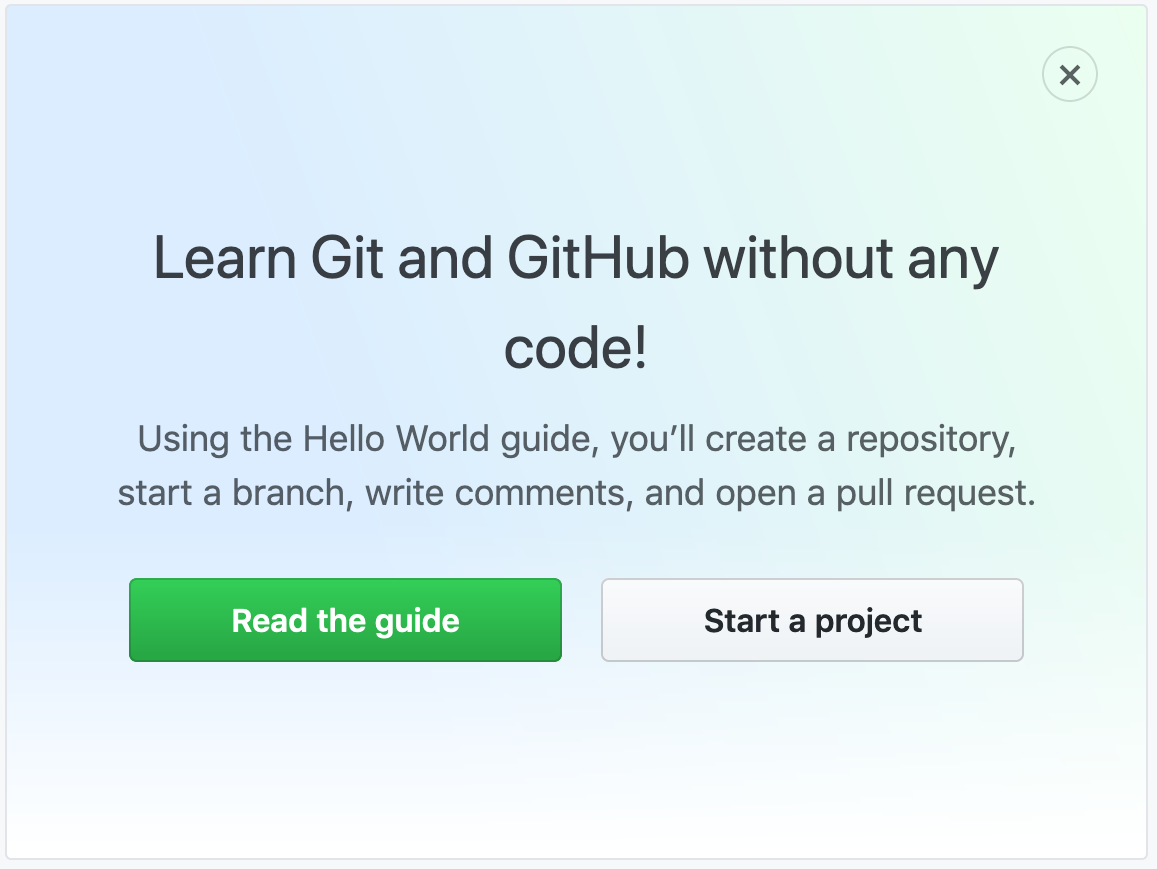
On some configurations you may see the Start a project button, so click it if so.
-
Give the repository a name. Normally it’s best to use lowercase letters, numbers. Instead of spaces and hyphen characters (the minus sign, or
-) instead. It will be used as a filename, and it will be given prominence in Web searches. -
Leave Public checked.
The Public option makes your repository visible to the entire Internet. You can leave it unchecked and keep your repo private, but GitHub Pages by definition publishes the contents of the site (at least when links are supplied to those pages).
-
Feel free to add a descripion if you wish. It helps the visibility of your site in search engines.
-
Under Initialize this repository with be sure to uncheck the Add a README file checkbox. GitHub normally generates a
README.mdin the root directory. This is not what you want want when creating a GitHub Pages project because you want to leaveREADME.mdfor the code portion of a project. Even if there is no code portion, yourREADME.mdshould not be in the root directory.
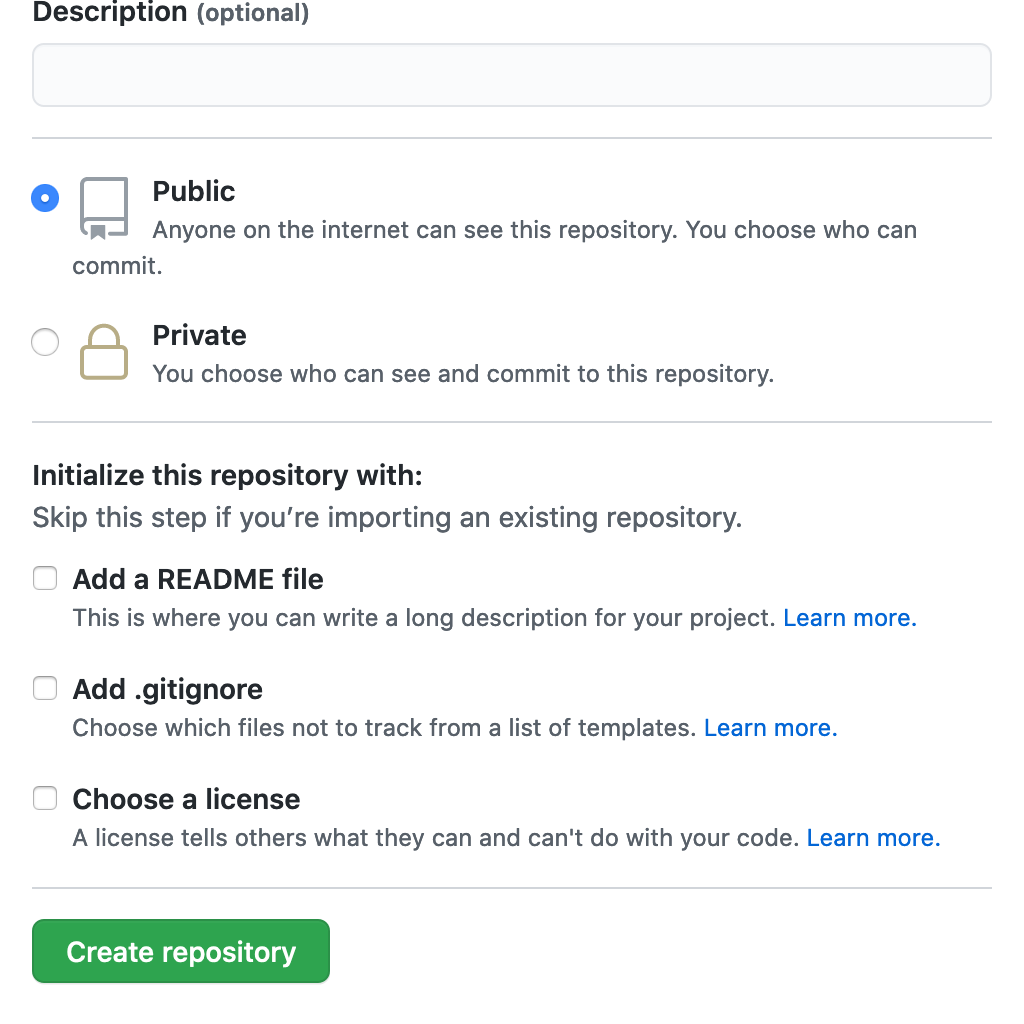
- Choose Create repository.
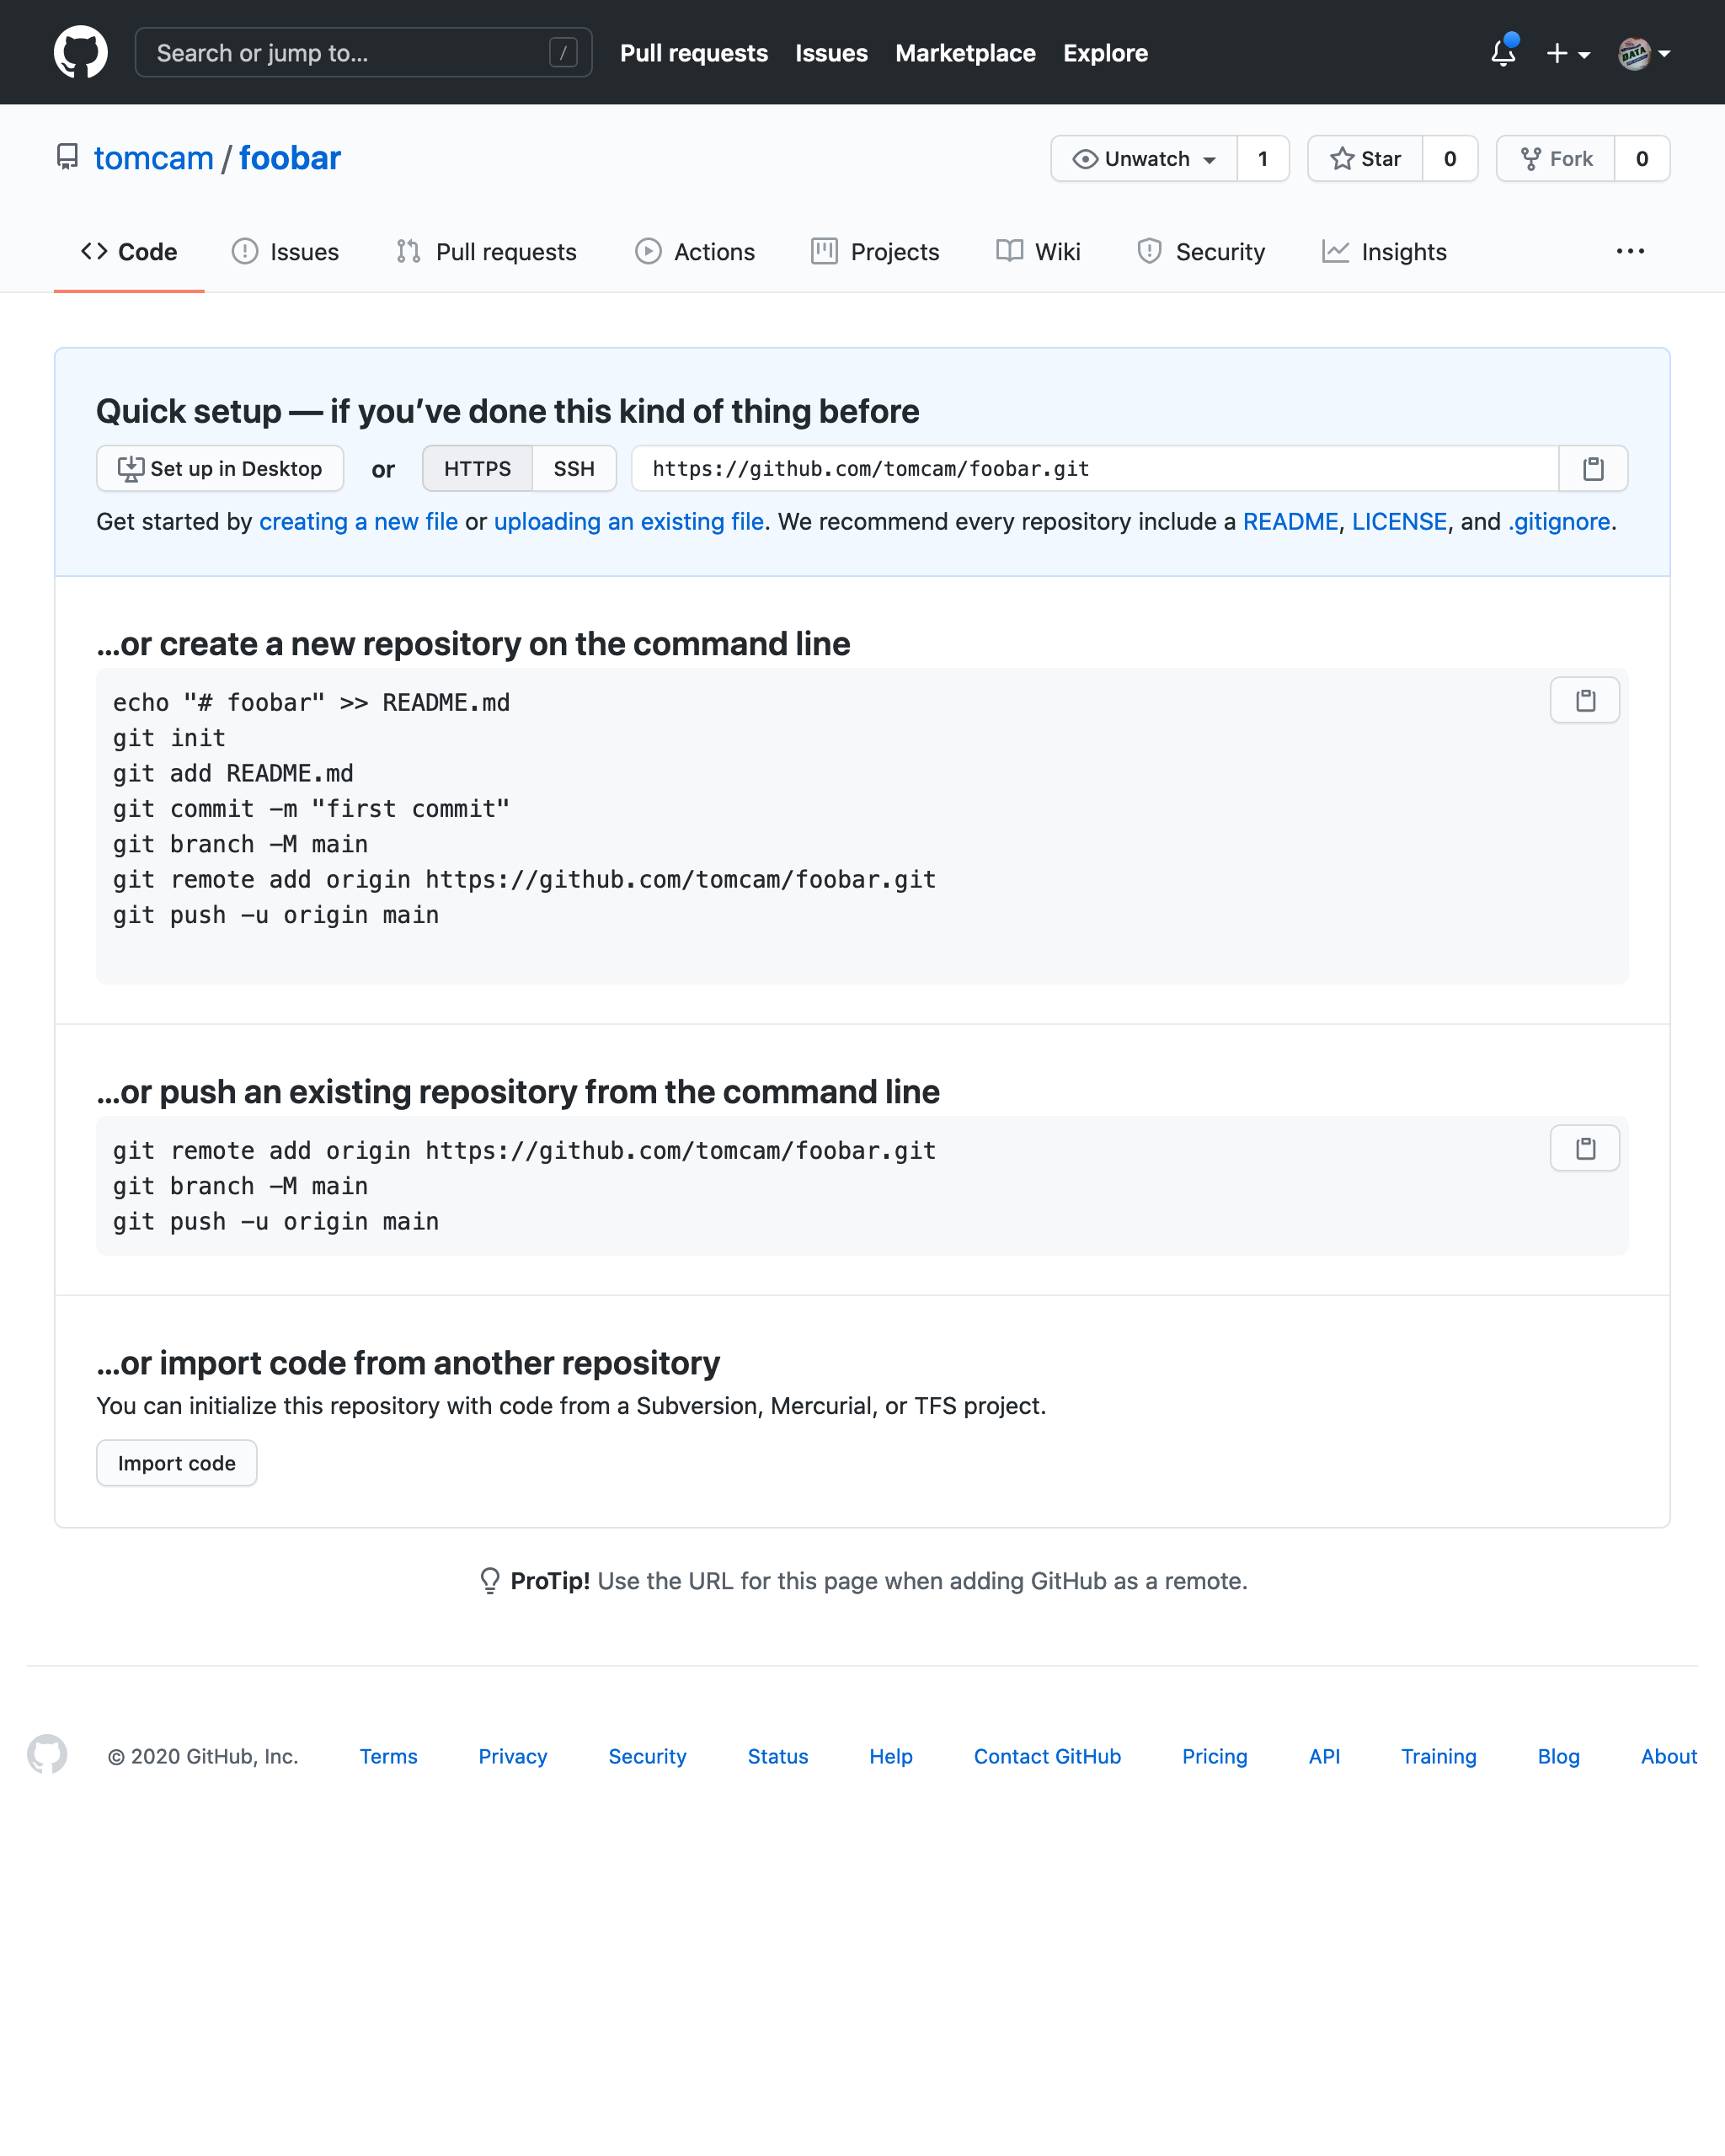
You’ll get a page that looks like this:
| Previous page | Next page |